Making Bread with My KitchenAid Stand Mixer
This post may contain affiliate links. Please read my Disclosure and Privacy Policy.
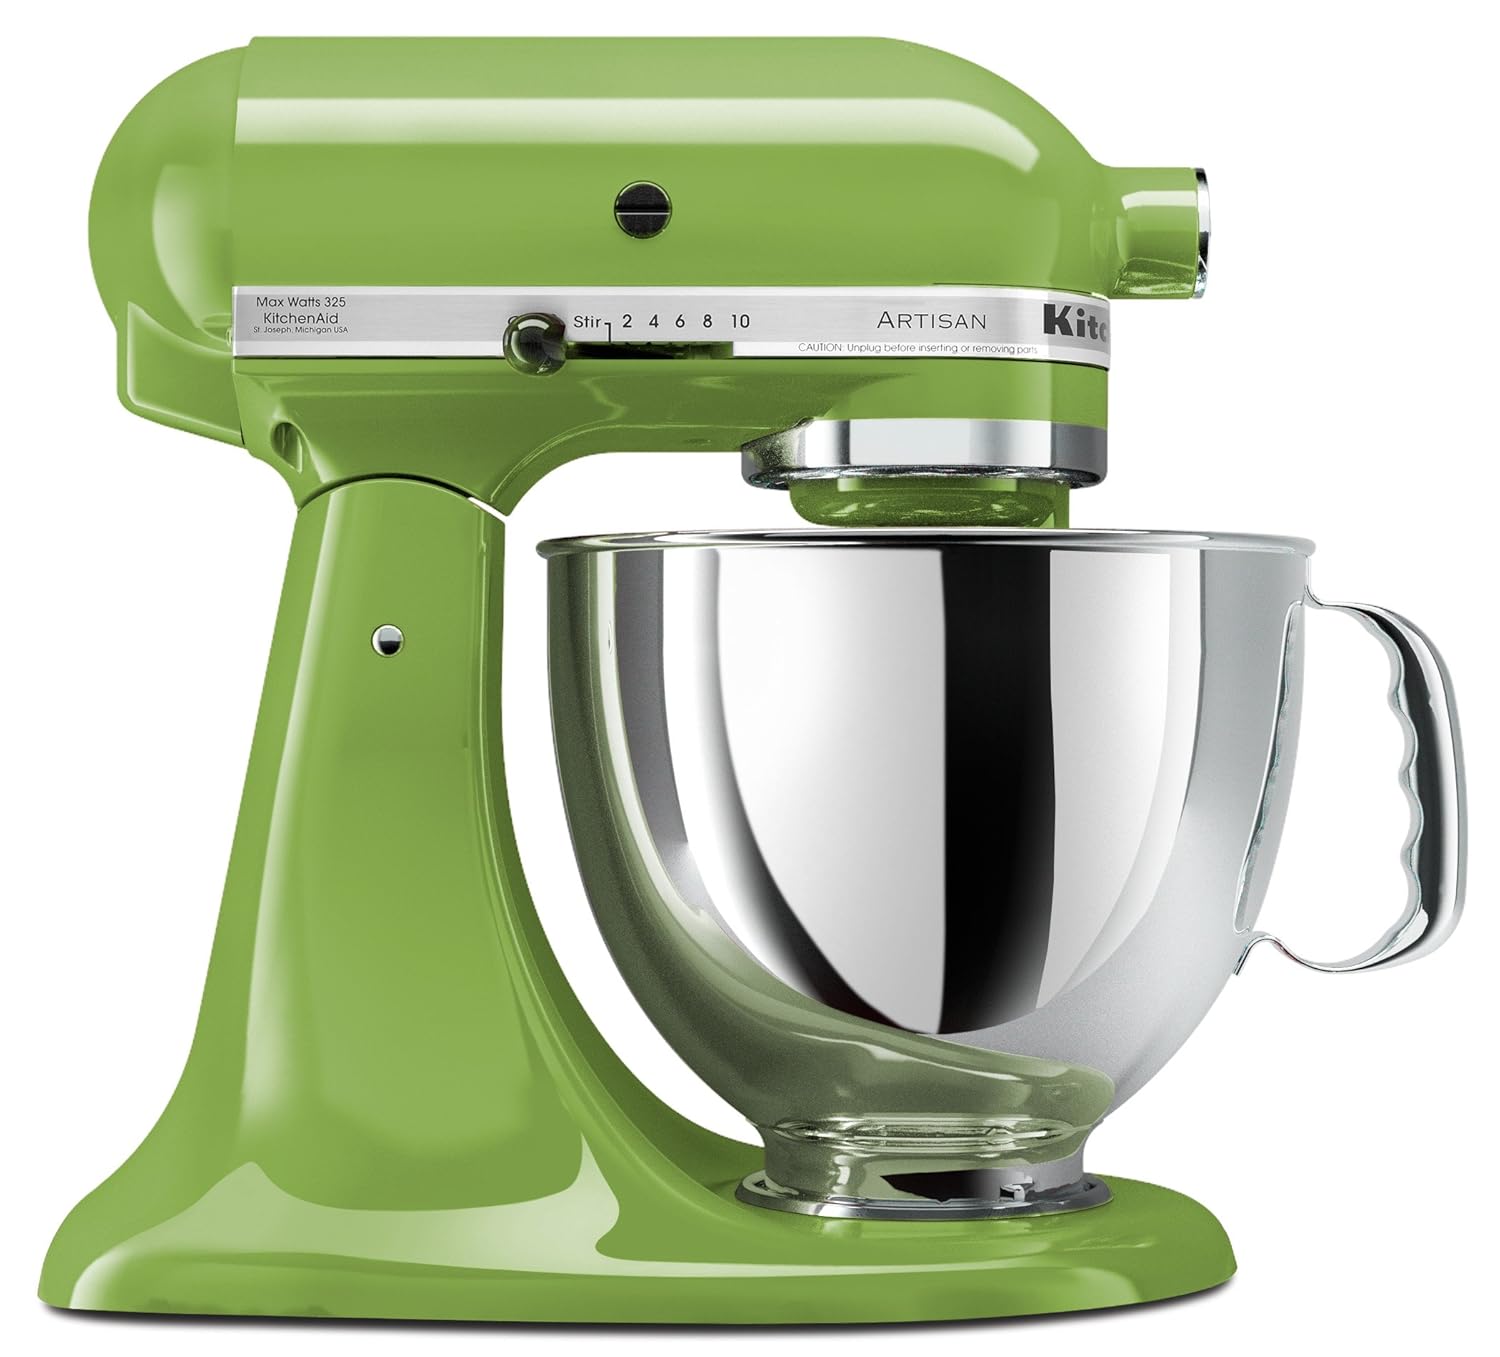
KitchenAid made my day month year when agreed to let me test out this KitchenAid Artisan 5Qt Tilt Head Stand Mixer. The extra fun part was picking out a color! Isn’t this green apple mixer a real beauty? So far I’m loving how much easier it is to bake but also that it is pushing me to be more adventurous in the kitchen.
KitchenAid KSM150PSGA Artisan Series 5-Qt. Stand Mixer with Pouring Shield – Green Apple
&
One area I’ve never tried is baking breads. I like to make the occasional cinnamon rolls but I always cheat and never make them from scratch. For whatever reason I’ve been afraid of yeast. I know it is somewhat touchy to work with and I stayed away for fear of messing it up. I also never thought to attempt to make my own bread because frankly, I always assumed I’d wait to get a bread machine for that. The idea of relentlessly kneading and waiting forever for the dough to rise just seemed like too much work.
I used to think that. That is, until I wanted to test out the dough hook and decided to take the BYOB (Bake Your Own Bread) plunge.
 I opted for the Rapid Mix Cool Rise White Bread recipe from the instruction and recipe booklet included with my mixer. I chose this recipe because it specifically states it is a faster and easier recipe for new bread makers. And since I’m a total bread making newbie I went with this more temperature tolerant recipe that adds the yeast to dry ingredients.

Rapid Mix Cool Rise White Bread
Ingredients
- 6 to 7 cups all purpose flour
- 2 tablespoons sugar
- 3 1/2 teaspoons salt
- 3 packages of active dry yeast
- 1/4 c. butter or margarine softened
- 2 cups very warm water 120 to 130 degrees Fahrenheit
Instructions
-
Add 5 1/2 cups flour, sugar, salt, yeast and butter to your mixer bowl. Attach dough hook to mixer. Turn to Speed 2 and mix about 20 seconds.
-
Gradually add 2 cups very warm water (120 to 130 degrees Fahrenheit). Mix about 1-1/2 minutes longer.
-
Continuing on Speed 2, add remaining 1/2 cup to 1 1/2 cups flour (1/2 cup at a time) and mix until dough clings to hook and cleans side of bowl, about 2 minutes.
-
Knead on Speed 2 about 2 minutes longer.
-
Cover with plastic wrap and a towel. Let rest for 20 minutes.
-
Divide dough in half.
-
On a lightly floured surface, roll each half into a rectangle, approximately 9x14 inches.
-
To create the loaf shape, starting at the short end, roll the dough tightly.
-
Pinch to seal seam then turn under.
-
Place the dough, seam side down, in greased 8 1/2 x 4 1/2 x 2 1/2 inch loaf pans.
-
Brush each loaf with oil and cover loosely with plastic wrap.
-
Refrigerate 2 to 12 hours.
-
When ready to bake, uncover dough carefully. Let stand at room temperature 10 minutes. Puncture any gas bubbles.
-
Bake at 400 degrees 35-40 minutes.
-
Remove from pans immediately and cool on wire racks.
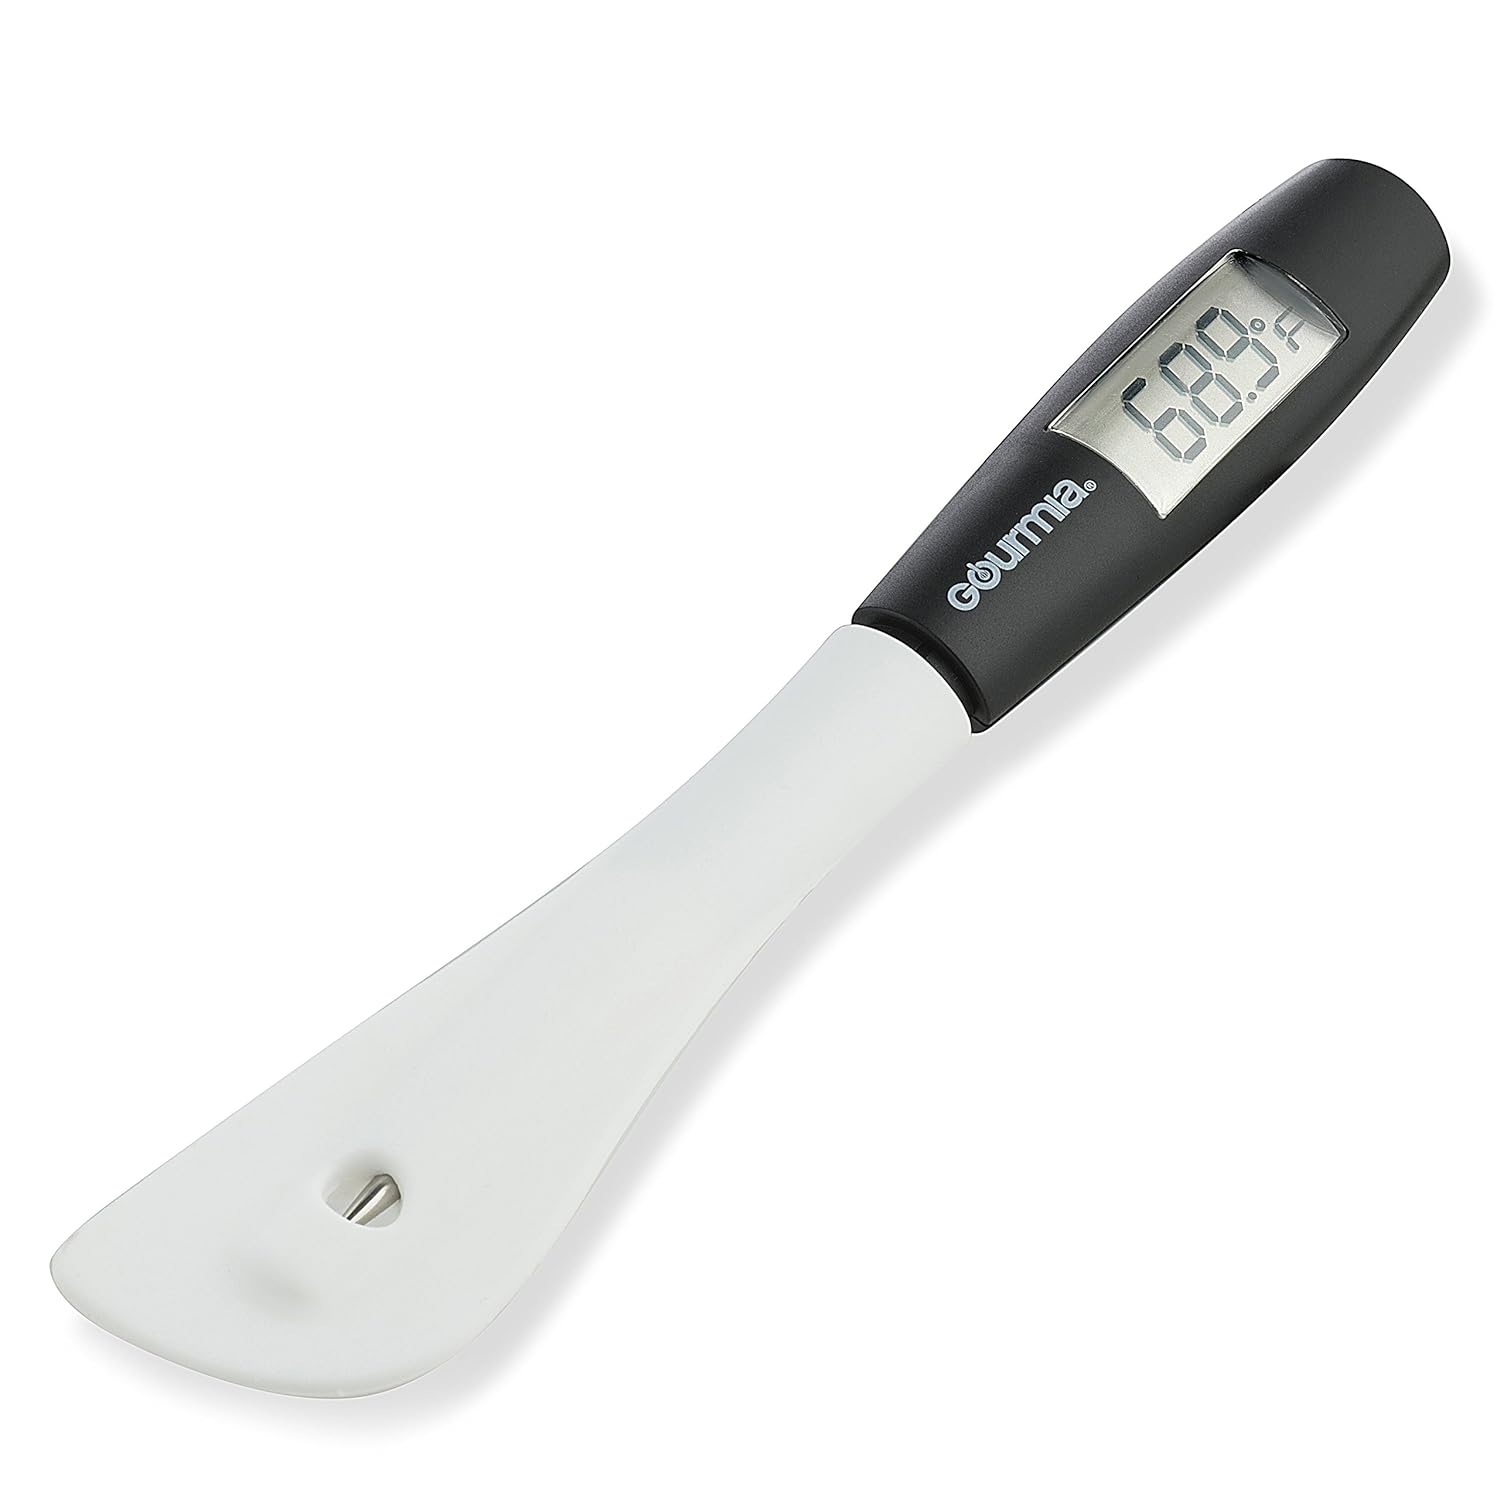
To make this recipe, you’ll need a food grade thermometer for the right water temperature. If you don’t have one, you can find plenty of them on Amazon. Here are a few highly rated options to choose from!
Aristokool Fast Accurate Digital Meat Thermometer – Instant Read High Performance BBQ FoodGourmia GTH9180 Digital Spatula Thermometer Cooking & Candy Temperature Reader & Stirrer inSmarthomes Digital Meat Thermometer – Cooking Grill Probe Candy Temperature Oven BBQ FoodHabor Meat Thermometer Digital Cooking Thermometer with 5 Second Instant Read for Grill


&
To see this in action check out this video I made that includes the entire process of making this dough with the KichenAid Stand Mixer.
While this might sound like a long, hard process, remember that the mixer is doing all the work so it is really quite simple.
 After 20 minutes your dough will have risen considerably. Divide the dough in half.
 On a lightly floured surface, roll each half into a rectangle, approximately 9×14 inches.
 A rolling pin will smooth the dough and remove gas bubbles.
 To create the loaf shape, starting at the short end, roll the dough tightly.
 Pinch to seal the seam.
 Pinch the ends and turn them under.
 While they didn’t turn out perfect, they did look like little loaves! I’m sure with practice I will get even better. Place the dough, seam side down, in greased 8 1/2 x 4 1/2 x 2 1/2 inch loaf pans. (I had to improvise since I didn’t have two of that size.)

Brush each loaf with oil and cover loosely with plastic wrap. Refrigerate 2 to 12 hours. When ready to bake, uncover dough carefully. Let stand at room temperature 10 minutes. Puncture any gas bubbles.
 Once baked, be sure to remove from pans immediately and cool on wire racks.
 Mmm…..bread. Doesn’t it look yummy?
 Ok, if plain bread doesn’t get you, how about some lightly toasted bread with butter?
 No? Then how about a little grape jelly on top? It tasted fabulous with my coffee in the morning.
 Still not making you drool? Well if those don’t get you this one certainly will! This french toast turned out divine. Almost sinfully good. Because of the denseness of the bread, it almost seemed like a pastry. Light and fluffy on the inside and certainly more filling than any other french toast I’ve tried!
 Now I’m officially on a homemade bread kick. My husband is begging me for a cinnamon raisin bread so I just might make his day soon and surprise him! I’m certainly going to be experimenting with different types of bread and can’t wait to share my experiences with you!
If you have a KitchenAid mixer and haven’t yet attempted to use the dough hook for making homemade bread, I highly suggest you try. It isn’t as complicated or time consuming as it might seem and I really enjoyed a sense of accomplishment at the end! Not to mention how extra good it tasted that night with our walleye.
Here are the tools you need to make this awesome bread recipe!
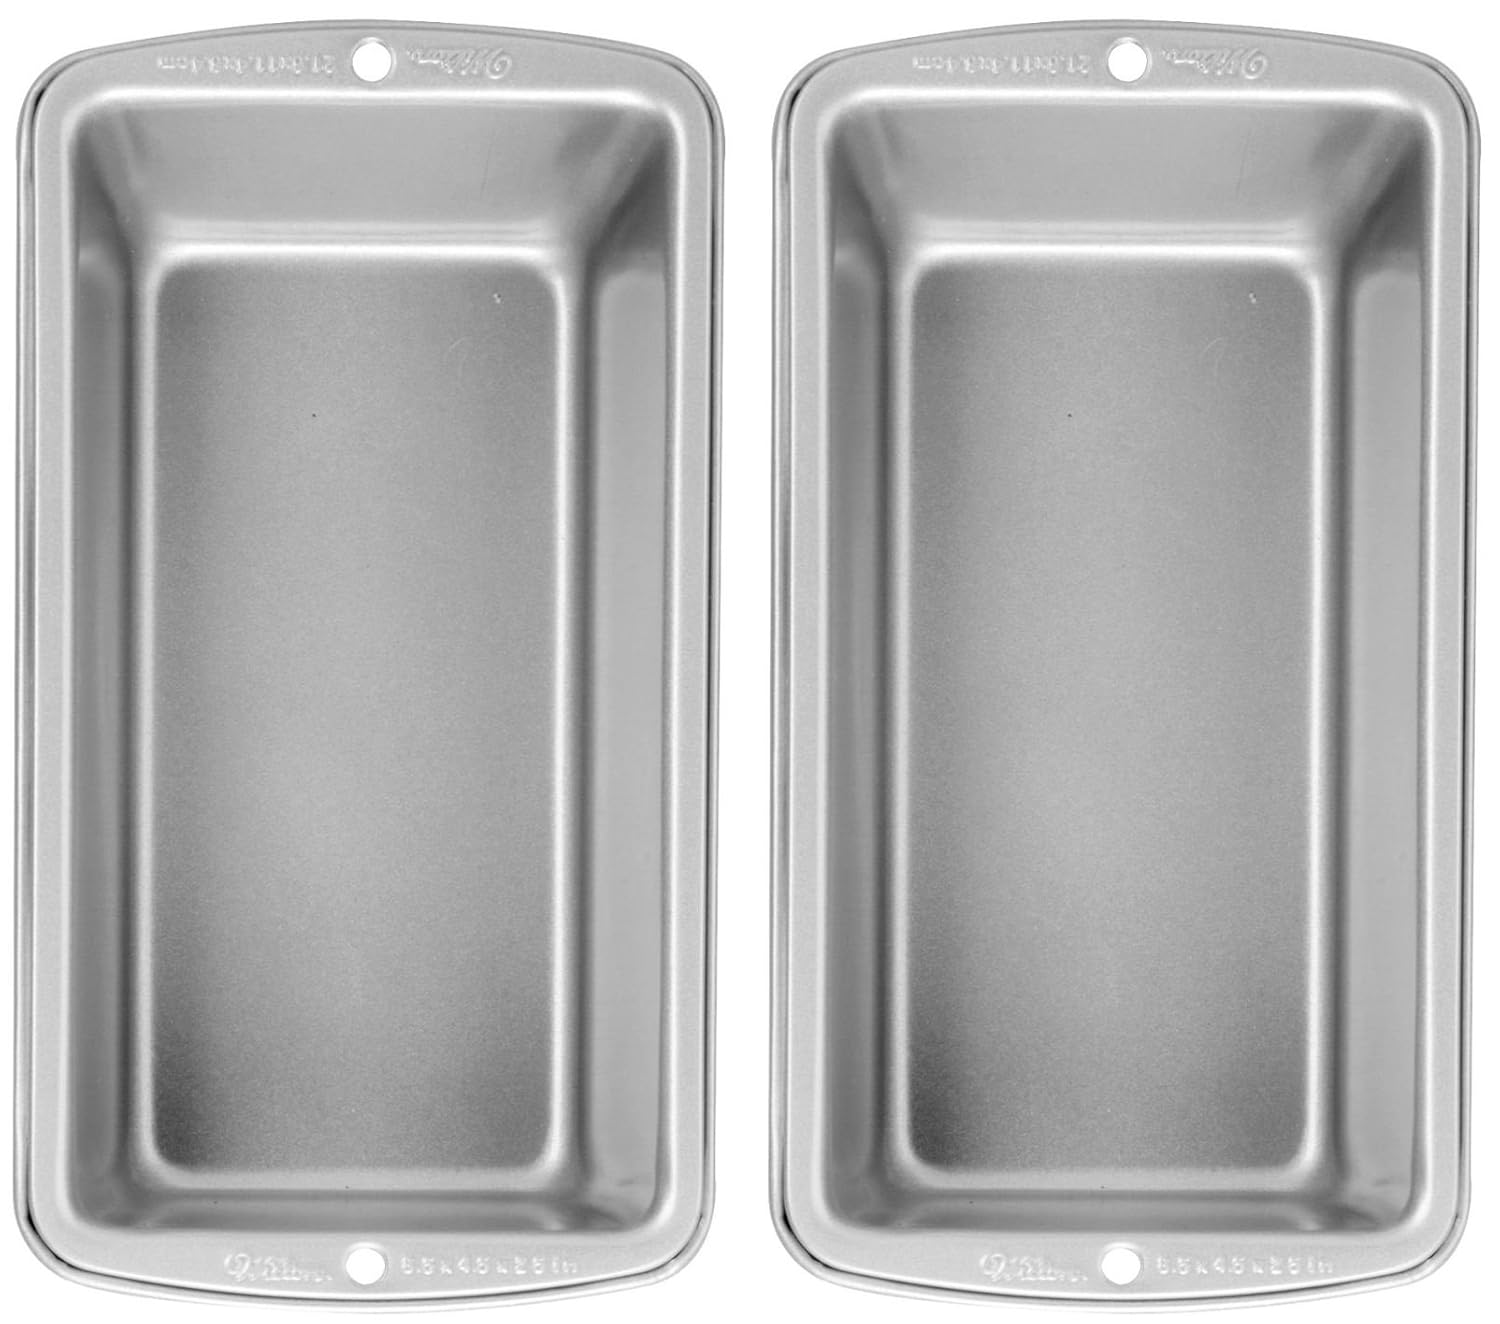
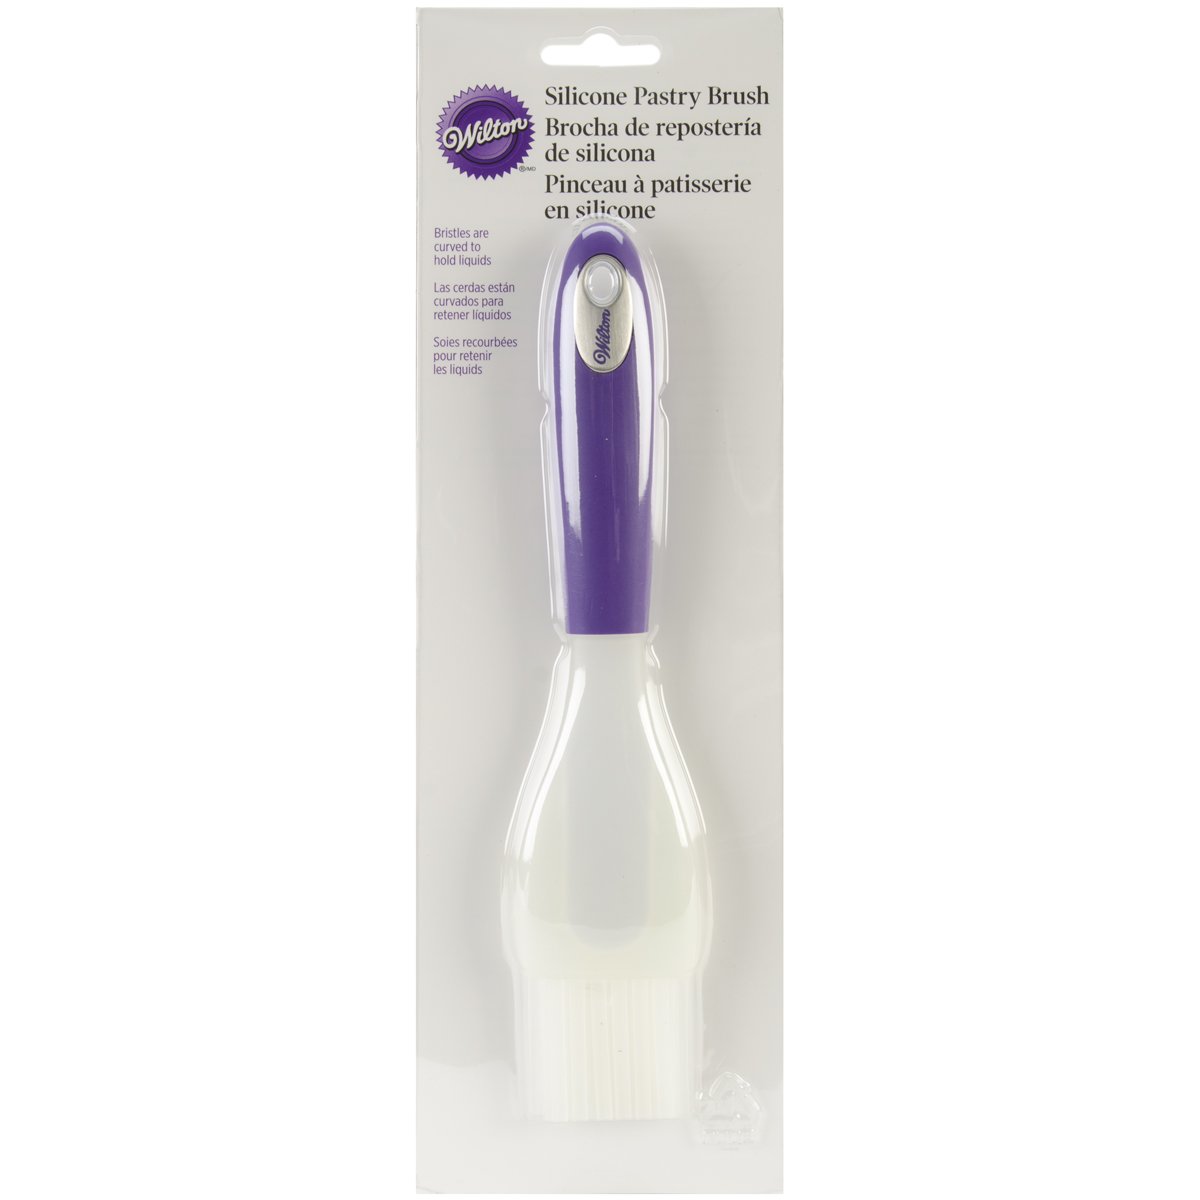
KitchenAid KSM150PSGA Artisan Series 5-Qt. Stand Mixer with Pouring Shield – Green AppleWilton Recipe Right Medium Loaf Pan, Pack of 2Wilton Nonstick Cooling Rack Grid, 14 1/2 by 20-InchWilton Silicone Brush, Purple Handle

&
If you don’t have a KitchenAid mixer what are you waiting for? Splurge and get yourself one or ask for one for your next birthday or Christmas gift.
Another great bread option are my easy homemade drop biscuits. They require no yeast and can be on your table in less than 20 minutes with just a few ingredients! Stop on by for the recipe here.

Disclosure: I received a sample for the purpose of this review but no other type of compensation was received. This has no bearing on my completely honest review above. The opinions and experiences I’ve shared with these products are my own and yours may differ.
Yum! I love baking bread and have been baking ours for about a year now. I really want a kitchenaid mixer. I am planning to get one in the next few months and I am so stinking excited!
I have this mixer but have never tried making bread with it. Thank you for the recipe and step-by-step instructions. 🙂
Homemade bread is always the best!
I see this got bumped to your front page 🙂 I love homemade bread, I don’t make it as often as I’d like but if I had a Kitchenaid I swear I’d be baking every weekend!
wow, i never knew about the dough hook on those mixers. I don’t own one, but i always thought you would need a bread maker to make such good looking bread!
Can we make the bread dough advance? Since ur recipe yield 2 loaves, can I freeze 1? If yes, how to? Please help…
@Priscilla: Yes, you can freeze the bread. After baking immediately remove from pan onto a wire cooling rack. Once completely cooled, slip into a plastic bag and place in your freezer. When needed, remove from freezer, open bag so bread does not get soggy while thawing (I stand mine on end) and allow to thaw. If you need bread in a hurry, place in microwave for a few minutes and you’ll wind up with thawed/warmed bread ~ yum! Also, you can use a serrated knife to slice the frozen bread and either allow it to thaw or put in toaster.
you say to let it sit in the fridge for 2 – 12 hours…what am i looking for between those times???
thanks….
There is a website for KitchenAid Mixer recipes…
go to http://www.gotmixer.com
Recipes with pictures, videos and hints, meals for every occasion using your Stand Mixer.
Good Luck!
I bought a Kitchenaid at a yardsale about 10 years ago, for $55 no less. Best purchase I ever made and since it came with its dough hook and all, I was excited. I never really got to using it until lately though and I stumble across your site. This bread turns out terrific! I add different spices to one side based on what we are having for dinner, ie, some garlic or pizza seasoning on Italian, etc. It’s so flexible. It is a quick break to make, so I can usually make it in the afternoon. The think I do different is that I put it in the loaf pan, let it rise for about 45 minutes then bake. Since it makes two loaves, I’m ahead of the game! Thanks for a really great recipe.
I remember I had one of these. It was great the once or twice i used it, but being a single parent and working two sometimes three jobs I just never had the time, but man I love the smell of baking bread and the taste of homemade bread fresh out of the oven. It’s the absolute best taste out of anything, but the most important thing is doing it with someone. That’s the real best thing for one person to have is to share that time with another person especially if it’s a sibling or your child.
Today was the “big” day I decided to take out my Kitchenaid Mixer and finally try the dough attachment. I’ve had this mixer for years and was always toooo afraid to try and make bread with it. I, too, love the smell of freshly baked bread and it’s definitely a challenge and an accomplishment when you can tackle it yourself. So, thank you for this website…I will follow your suggestions and let you know the results. I’m sooo excited.
hello, thank you for your bread experience. i received a 6qt kitchenaid mixer for valentines day. i could not believe it when all the attachments started to arrive in the mail. i’m retired and it seems spoiled, too. cooking is my hobby. i’ve baked a handful of breads so far and i’m about to bake another one right now. with the mixer it’s so easy and fun. i’ve made sausage, ice cream, pasta, sorbet, bread, bread and more bread. once you get a kitchenaid you don’t know how you lived without one.
I am so jealous! When I make mine, it is all by hand, don’t have one of these but I can see how this would sure simplify things and the bread looks wonderful