Holiday Card Wire Frame {Craft Tutorial}
This post may contain affiliate links. Please read my Disclosure and Privacy Policy.
I’ve been meaning to post this one for a long time now. I started working on this holiday card wire frame last Christmas and have been enjoying it all year with every new holiday. I first saw this idea on Pinterest linked to this Sassy Sanctuary blog post showing the crazy expensive version from the Pottery Barn and her beautiful and far less expensive variation.
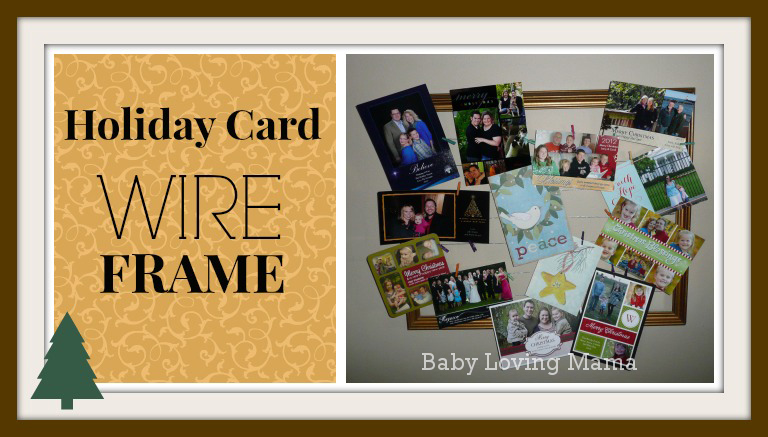
Then my friend Katie from Paisley Print Shoes showed the beautiful reveal of her daughters’ new room and she had a frame with chicken wire. Now that’s a great idea. Here’s how we (aka my husband and I) made our Holiday Card Wire Frame.

I use my frame all year and love swapping out the Christmas cards when my babies’ birthday comes around or to display family photos and cards from friends.
MATERIALS
- Any frame (look at thrift shops and ditch the dingy print)
- Picture hanging kit (wire and eye screws) or sturdy wire
- Measuring tape
- Wire cutters
- Cable staple gun and staples (these have a rounded opening in the staple perfect for tying the wire to).
*If you don’t have this you could use the eye screws from the kit or finishing nails with a space left to tie the wire. - Mini clothespins (I got the colored version and love the pop of interest.)
- Wall nails or hooks to hang your frame
- Optional: Picture frame hanger if your frame needs one
DIRECTIONS
1) Prepare your frame. Remove the print or painting if needed. If you want to apply a painted or decorative finish to your frame first do so and let dry.
2) Measure even spaces and make a mark on opposing sides of your frame. We only put horizontal wires however you could do vertical as well (OR get the chicken wire like the frame I mentioned earlier).
3) Measure and cut your wire leaving a long enough tail to wrap the end securely around itself. *NOTE: The wire in our kit was stretching so we spun several strands together to make a sturdier wire. You might have more success with a heavier wire and a crimp bead to secure it if necessary.
4) Add your picture frame hanger if necessary and hang your frame! Mine can hang both vertically or horizontally which I love.
this is perfect for any holiday 🙂 really nice idea.. good idea for birthday cards too!
I love this idea. It’s so crafty!
i love this idea. i think this would be pretty in someones office at work. such a great gift idea for them!
This is a really neat way to display cards. Thank you for posting this for us.