Making Bread with My KitchenAid Stand Mixer
This post may contain affiliate links. Please read my Disclosure and Privacy Policy.
KitchenAid made my day month year when agreed to let me test out this KitchenAid Artisan 5Qt Tilt Head Stand Mixer. The extra fun part was picking out a color! Isn’t this green apple mixer a real beauty? So far I’m loving how much easier it is to bake but also that it is pushing me to be more adventurous in the kitchen.
KitchenAid KSM150PSGA Artisan Series 5-Qt. Stand Mixer with Pouring Shield – Green Apple

&
One area I’ve never tried is baking breads. I like to make the occasional cinnamon rolls but I always cheat and never make them from scratch. For whatever reason I’ve been afraid of yeast. I know it is somewhat touchy to work with and I stayed away for fear of messing it up. I also never thought to attempt to make my own bread because frankly, I always assumed I’d wait to get a bread machine for that. The idea of relentlessly kneading and waiting forever for the dough to rise just seemed like too much work.
I used to think that. That is, until I wanted to test out the dough hook and decided to take the BYOB (Bake Your Own Bread) plunge.
 I opted for the Rapid Mix Cool Rise White Bread recipe from the instruction and recipe booklet included with my mixer. I chose this recipe because it specifically states it is a faster and easier recipe for new bread makers. And since I’m a total bread making newbie I went with this more temperature tolerant recipe that adds the yeast to dry ingredients.

Rapid Mix Cool Rise White Bread
Ingredients
- 6 to 7 cups all purpose flour
- 2 tablespoons sugar
- 3 1/2 teaspoons salt
- 3 packages of active dry yeast
- 1/4 c. butter or margarine softened
- 2 cups very warm water 120 to 130 degrees Fahrenheit
Instructions
-
Add 5 1/2 cups flour, sugar, salt, yeast and butter to your mixer bowl. Attach dough hook to mixer. Turn to Speed 2 and mix about 20 seconds.
-
Gradually add 2 cups very warm water (120 to 130 degrees Fahrenheit). Mix about 1-1/2 minutes longer.
-
Continuing on Speed 2, add remaining 1/2 cup to 1 1/2 cups flour (1/2 cup at a time) and mix until dough clings to hook and cleans side of bowl, about 2 minutes.
-
Knead on Speed 2 about 2 minutes longer.
-
Cover with plastic wrap and a towel. Let rest for 20 minutes.
-
Divide dough in half.
-
On a lightly floured surface, roll each half into a rectangle, approximately 9x14 inches.
-
To create the loaf shape, starting at the short end, roll the dough tightly.
-
Pinch to seal seam then turn under.
-
Place the dough, seam side down, in greased 8 1/2 x 4 1/2 x 2 1/2 inch loaf pans.
-
Brush each loaf with oil and cover loosely with plastic wrap.
-
Refrigerate 2 to 12 hours.
-
When ready to bake, uncover dough carefully. Let stand at room temperature 10 minutes. Puncture any gas bubbles.
-
Bake at 400 degrees 35-40 minutes.
-
Remove from pans immediately and cool on wire racks.
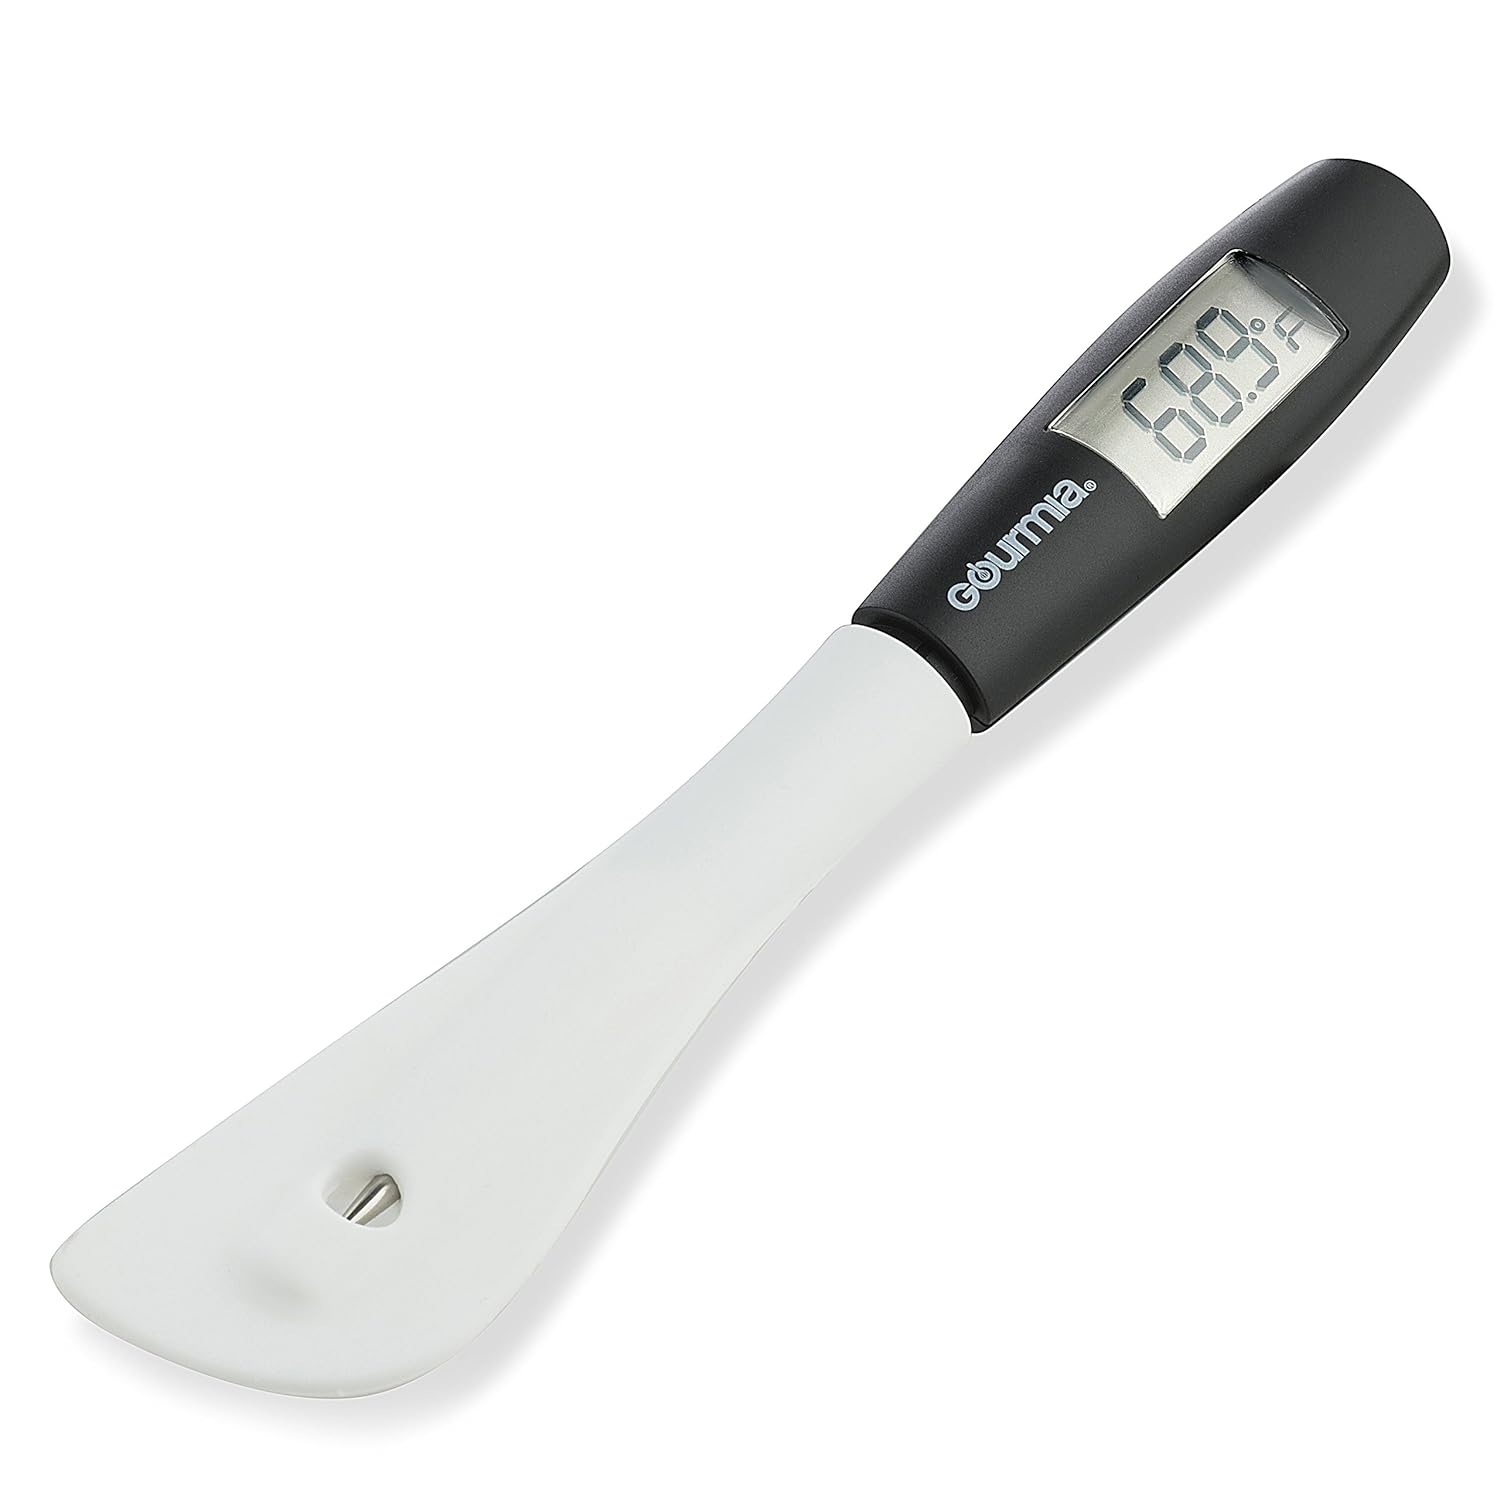
To make this recipe, you’ll need a food grade thermometer for the right water temperature. If you don’t have one, you can find plenty of them on Amazon. Here are a few highly rated options to choose from!
Aristokool Fast Accurate Digital Meat Thermometer – Instant Read High Performance BBQ FoodGourmia GTH9180 Digital Spatula Thermometer Cooking & Candy Temperature Reader & Stirrer inSmarthomes Digital Meat Thermometer – Cooking Grill Probe Candy Temperature Oven BBQ FoodHabor Meat Thermometer Digital Cooking Thermometer with 5 Second Instant Read for Grill


&
To see this in action check out this video I made that includes the entire process of making this dough with the KichenAid Stand Mixer.
While this might sound like a long, hard process, remember that the mixer is doing all the work so it is really quite simple.
 After 20 minutes your dough will have risen considerably. Divide the dough in half.
 On a lightly floured surface, roll each half into a rectangle, approximately 9×14 inches.
 A rolling pin will smooth the dough and remove gas bubbles.
 To create the loaf shape, starting at the short end, roll the dough tightly.
 Pinch to seal the seam.
 Pinch the ends and turn them under.
 While they didn’t turn out perfect, they did look like little loaves! I’m sure with practice I will get even better. Place the dough, seam side down, in greased 8 1/2 x 4 1/2 x 2 1/2 inch loaf pans. (I had to improvise since I didn’t have two of that size.)

Brush each loaf with oil and cover loosely with plastic wrap. Refrigerate 2 to 12 hours. When ready to bake, uncover dough carefully. Let stand at room temperature 10 minutes. Puncture any gas bubbles.
 Once baked, be sure to remove from pans immediately and cool on wire racks.
 Mmm…..bread. Doesn’t it look yummy?
 Ok, if plain bread doesn’t get you, how about some lightly toasted bread with butter?
 No? Then how about a little grape jelly on top? It tasted fabulous with my coffee in the morning.
 Still not making you drool? Well if those don’t get you this one certainly will! This french toast turned out divine. Almost sinfully good. Because of the denseness of the bread, it almost seemed like a pastry. Light and fluffy on the inside and certainly more filling than any other french toast I’ve tried!
 Now I’m officially on a homemade bread kick. My husband is begging me for a cinnamon raisin bread so I just might make his day soon and surprise him! I’m certainly going to be experimenting with different types of bread and can’t wait to share my experiences with you!
If you have a KitchenAid mixer and haven’t yet attempted to use the dough hook for making homemade bread, I highly suggest you try. It isn’t as complicated or time consuming as it might seem and I really enjoyed a sense of accomplishment at the end! Not to mention how extra good it tasted that night with our walleye.
Here are the tools you need to make this awesome bread recipe!
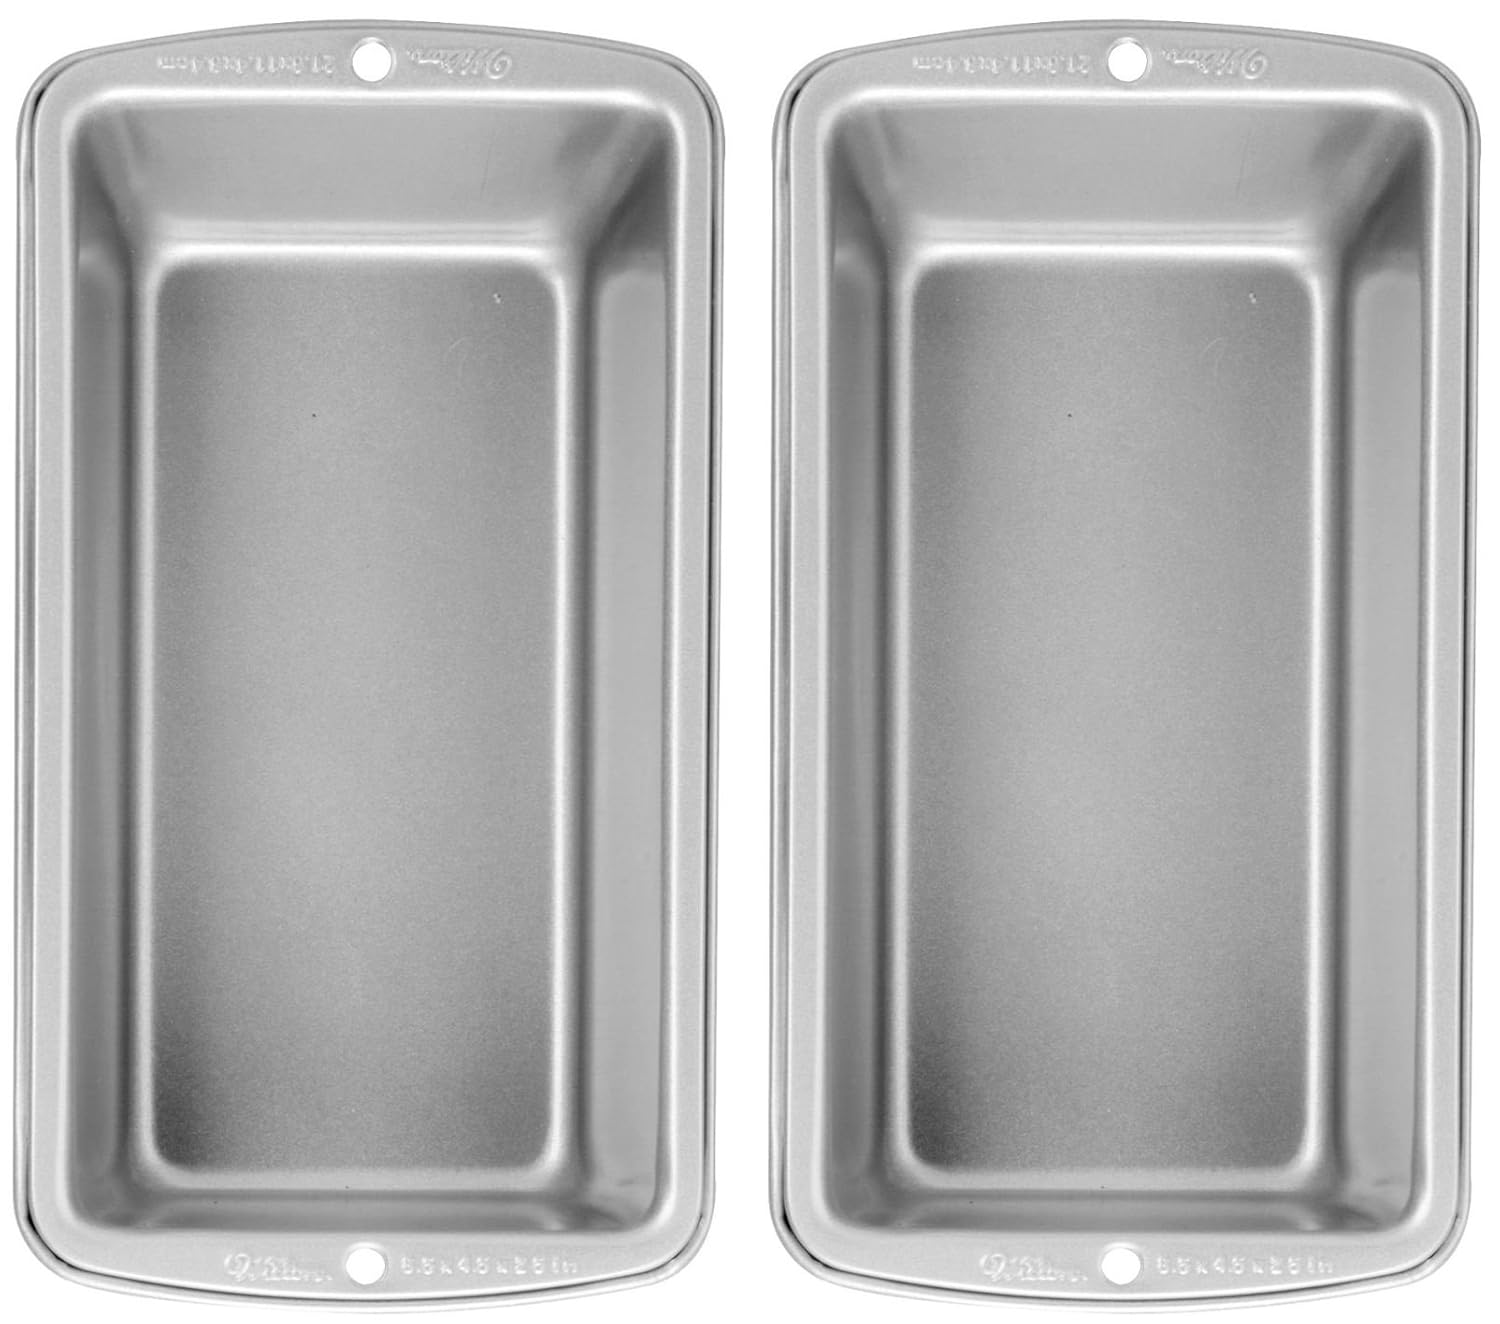
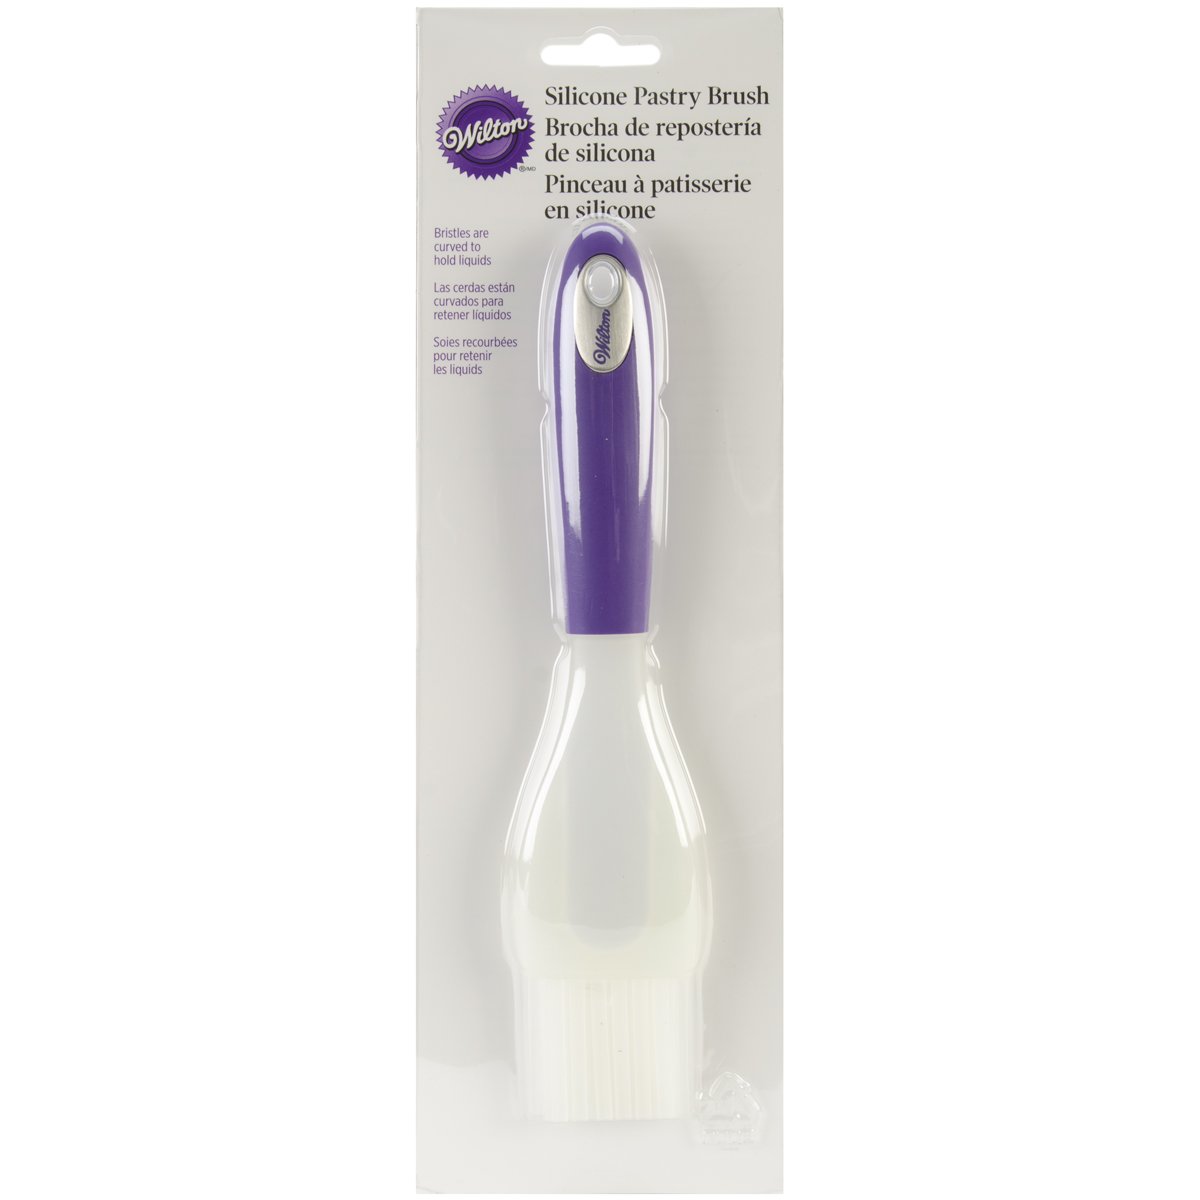
KitchenAid KSM150PSGA Artisan Series 5-Qt. Stand Mixer with Pouring Shield – Green AppleWilton Recipe Right Medium Loaf Pan, Pack of 2Wilton Nonstick Cooling Rack Grid, 14 1/2 by 20-InchWilton Silicone Brush, Purple Handle

&
If you don’t have a KitchenAid mixer what are you waiting for? Splurge and get yourself one or ask for one for your next birthday or Christmas gift.
Another great bread option are my easy homemade drop biscuits. They require no yeast and can be on your table in less than 20 minutes with just a few ingredients! Stop on by for the recipe here.

Disclosure: I received a sample for the purpose of this review but no other type of compensation was received. This has no bearing on my completely honest review above. The opinions and experiences I’ve shared with these products are my own and yours may differ.
LOVE the color you got, and the bread looks awesome! YUM!
Oh my gosh ~ that looks so delicious. We have a mixer too however we haven’t been brave enough to try some bread yet however I think you’ve inspired us. Thanks!
That bread looks delcious and I love the color you picked! I’m dying to get a Kitchenaid mixer!
Looks like you did a great job, Emilie! The French Bread, in particular, looks delicious.
I looked at all the mixers and the KitchenAid Artisan 5Qt Tilt Head Stand Mixer is the best!
Looks yummy! I’m so jealous.
I am salivating over that French toast! Yum! I have always wanted one of those mixers, but since I rarely bake (or even cook, for that matter) I just can’t justify the cost. So I will definitely be looking forward to your giveaway!
Buy one! Trust me, you’ll start baking when you get it. I bought my KA Artisan 5qt (Empire Red) two weekends ago, and this is what I’ve made so far:
– Cool Rise bread recipe
– Peanut Butter cookies (recipe in manual)
– Chocolate cake (recipe in manual) Note: I will NEVER buy a cake mix again!!
– Pie dough (my own recipe)
And I hardly ever used to bake stuff, because I had a hand mixer and it was just too much of a pain. My only peeve with the KA mixer is that it mixes stuff up so fast, the fun ends too soon! 🙂
Right now a lot of stores have the mixers on sale. Go for it!
Yum! That looks delish! I love the color of your machine. Mine is just black!
Em, this my absolute favorite post of yours! You know I’m terrified of making homemade bread, especially because of having to work with yeast. I remember my mom using it so many times in the past and would have a bum dish because there was a problem with the yeast about half the time.
Your bread turned out absolutely beautiful!
I would love to bake bread. Your directions and mixer made it look easy enough. Now if only I had a KtchenAid. Your bread looks yummy.
Hey I really loved the video. The texture of the bread is just perfect.I love to bake Cakes.Never tried baking a bread. I have broken 3 hand mixers while baking cakes during my wilton cake course classes.My teacher told me , that its the time to ask my husband to buy me a My KitchenAid Mixer . 🙂
I would really really love to have a My KitchenAid Stand Mixer . Your video gave me a confidence that baking a bread is not that difficult as I thought it would be.
Thank you so much for the yummy video of an awesome recipe using a perfect KitchenAid Stand Mixer .
I very much enjoyed watching your video “Making Bread with My KitchenAid Stand Mixer {Review & Recipe} ”
KitchenAid Stand Mixer can make wonders in your kitchen. I think everyone who has one will agree with me.
I would love to have one soon 🙂
I can SMELL that bread baking…reminds me of coming home after a LONG walk down our driveway in the cold…to a warm house with fresh baked bread and jam. Sigh…wish I could duplicate my mom’s baking talents!
That bread looks tasty. I have nevr tackled bread making with my mixer. So far we’ve mostly made desserts.
so reminds me of my great grandmas homemade bread
I tried this bread tonight, and I don’t know what I did wrong, but the yeast was still intact after baking, you could see it sitting on the crust!! The loaves were very heavy, did you ever have this problem? I watched your video and I did the same thing….hmm.. Nonetheless I make the Basic White Bread recipe in the kitchen Aid recipe book and it turned out deadly, so I made 2 Cinnamon Loaves and a batch of Cinnamon Buns as well. I will maybe try the Rapid Mix Coo Rise again in the future seeing as you seemed to have luck with it.
wow i want that mixer! you are such a cook!
So. Jealous. 🙁 LOL I think this year I’ll be able to buy myself one 🙂
Am waiting for dough to rise, having “christened” my new white, Artisan 5 Quart Mixer. I cut the recipe in half to make one loaf instead of two as I’m cautious about putting a strain on the motor with so much flour (as indicated in one review on Amazon). My dough looks like your photo; however, the texture of the dough so far is grainy, not smooth. Can one divide recipe ingredients successfully? Has anyone tried to do this? If so, what were your results?
Oh my word! I hate making dough and I’ve never thought about using my kitchenaid to aid in this process. Love the idea!
Great recipe. I tried this today after a couple of other attempts and my loaves came out perfectly. I might cut back a little on the salt. Here are a few tips I would add for those who are thinking of doing this:
*instead of letting the dough rise the first time for only 20 minutes, try a whole hour instead and then after punching it down/separating it into two loaves/shaping them, I let it rise again for another hour.
*During the 1st rising period after I took the dough out of the mixer, I put it into a slightly greased bowl, turned it once so that the top part was also slightly greased and covered it. I put it into an oven (NOT turned on) and put a hot bowl of water on the rack below. I saw that tip somewhere else and it works great for helping the dough to rise.
*I would use less salt next time and maybe sub the sugar for honey
Otherwise, this worked out well! I made it on my professional Kitchen Aid Mixer from Costco. Love it.