DIY Magnetic Board Tutorial
This post may contain affiliate links. Please read my Disclosure and Privacy Policy.
Jamie of Some of This and That is back with another fun tutorial. She has created the perfect magnetic board, complete with fabric pocket to store anything from mail to markers. This is a great way to get a custom look for any space. Consider for your office, kitchen, entryway or just a fun back to school project!
 Materials Needed:

- Hot Glue Gun
- Old baking sheet (make sure that a magnet will stick to it first)
- Spray Paint
- Scrap fabric (fat quarters work great for this)
- Magnets

Directions:
Clean your baking sheet well and ensure it is completely dry.
Give the backside of the baking sheet a light coat of spray paint and let dry. Once dry, give it one last coat to ensure good coverage and allow to dry completely.

Once dry, fold your fabric in half and measure it out so that it will wrap around the backside of your baking sheet.

To form a pocket, using hot glue, lay a bead of hot glue down where you want your pocket seam to be.

Quickly place your fabric down (with the folded edge towards the top) and press into place.

Using hot glue, secure the fabric around each edge of the baking sheet, keeping the fabric tight as you go.

Flip baking sheet over and trim and secure the excess fabric to the back.

That’s it!
Be sure to check out this DIY Glitter Magnets tutorial, which fit perfectly with this project! They are super easy and a fun project.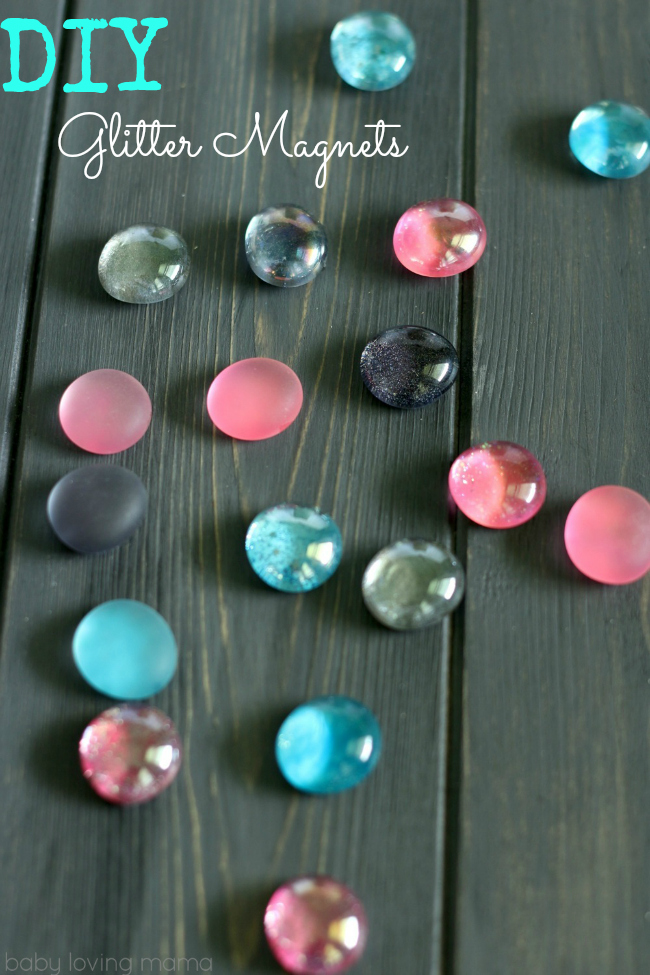

Pretty creative magnetic board! Lot less expensive than buying one for sure.
I never thought to use a sheet pan other than for cooking.