Graveyard Pudding Cups for Halloween
This post may contain affiliate links. Please read my Disclosure and Privacy Policy.
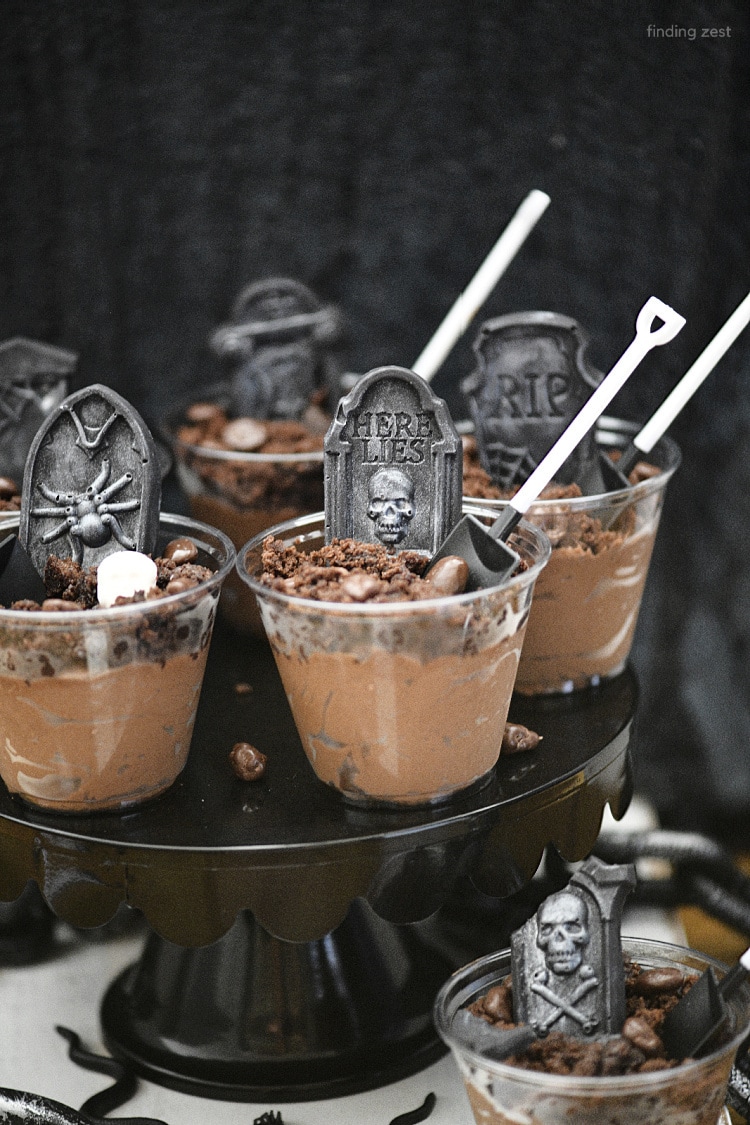
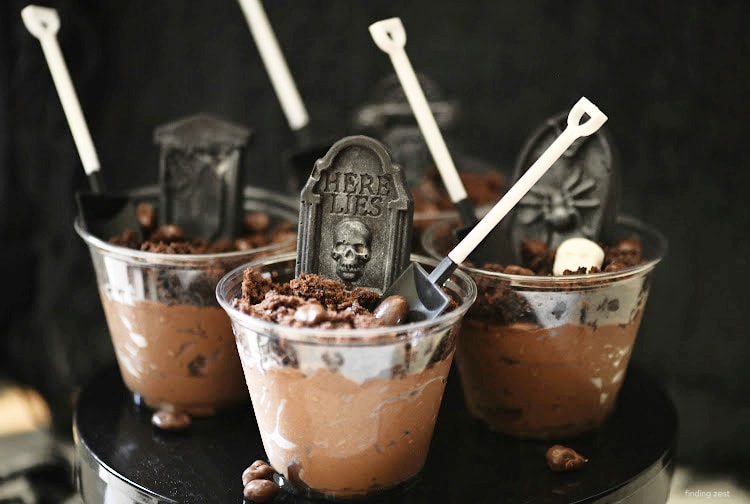
Graveyard Pudding has been taken to the next level with this recipe! Everyone will love the edible gravestones that are so realistic but surprisingly easy to make. This Halloween dessert features a fluffy chocolate mousse made with chocolate pudding and heavy whipping cream. Once topped with crumble brownie, homemade gravestones and a shovel spoon, this spooky treat is sure to be a standout on any dessert table!
It is no secret I love to make Halloween desserts. Some of my past favorites include these monster marshmallows and a giant Halloween brownie. This graveyard pudding is a fun way to celebrate Halloween and is probably much easier than you think to make! This no-bake dessert can be made ahead of time and kept in the refrigerator until ready to serve. How can anyone resist spooky Halloween treats?
If this pudding dessert seems too complicated, try these extra easy ghost pudding cups which requires only three ingredients and no special supplies!
Chocolate Mousse Ingredients
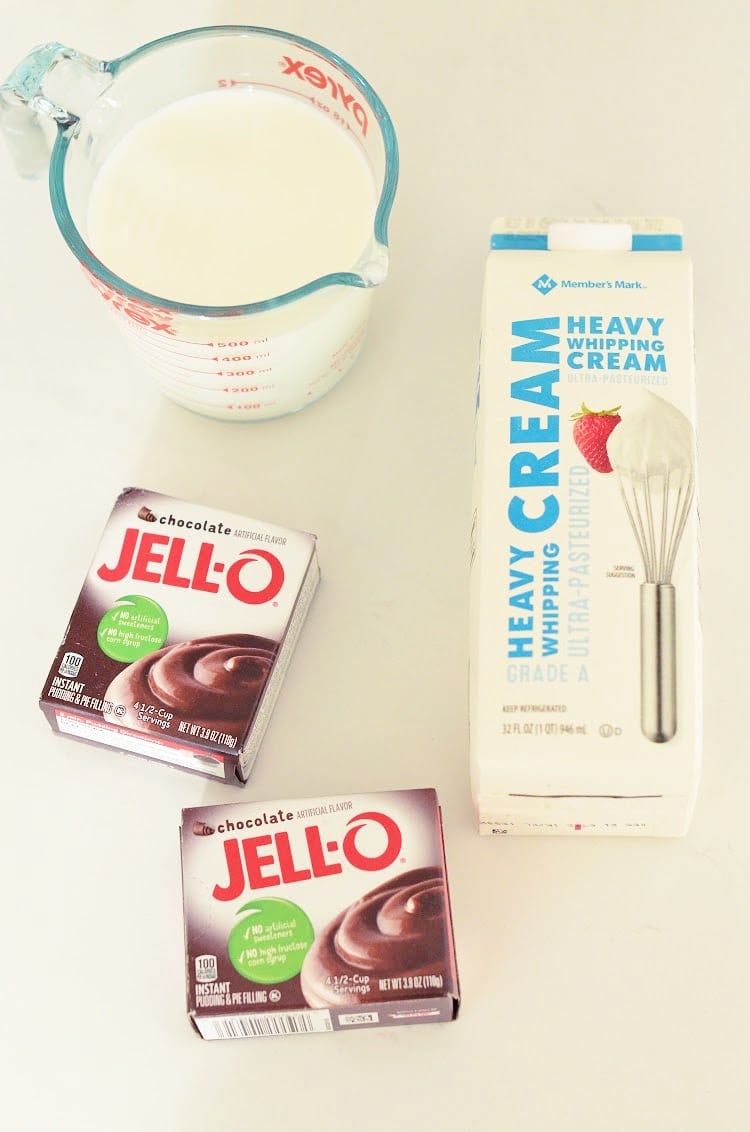
This chocolate mousse recipe is from a great friend of mine Courtney from Courtney’s Sweets. It is part of her Chocolate Mousse Pie, so I highly recommend you try this mousse out in pie form. So easy and delicious! To make it you’ll need:
- chocolate pudding
- whole milk
- heavy whipping cream
You can substitute 1% or 2% on the milk but I do highly recommend sticking with whole milk for amazing results.
How to Making Easy Chocolate Mousse
Start by adding the chocolate pudding, heavy whipping cream and whole milk to a chilled metal mixing bowl and beaters, like you would for making homemade whipped cream. If you are short on time you can skip this step but I found everything whipped up really nicely this way.

Keep beating until it thickens and peaks form. This will take several minutes of beating with an electric mixer. Transfer the chocolate mousse to small dessert dishes. I used 9 oz clear plastic cups. Exactly how many servings you get will depend upon how high you fill them. You can easily get 7 or 8 if you fill a 9 oz cup approximately 2/3 of the way.

Refrigerate until you are ready to assemble your graveyard pudding cups.
How to Make Edible Gravestones
To make these gravestones you’ll need black candy melts and a silicone tombstone mold. I got this one from Amazon and it was perfect for this project. You can also use this mold for other projects such as fun ice cubes or homemade soaps. If that one is out of stock, there are plenty of other sellers that offer the same product. You can also try this grave mold or this 2 pack grave mold.
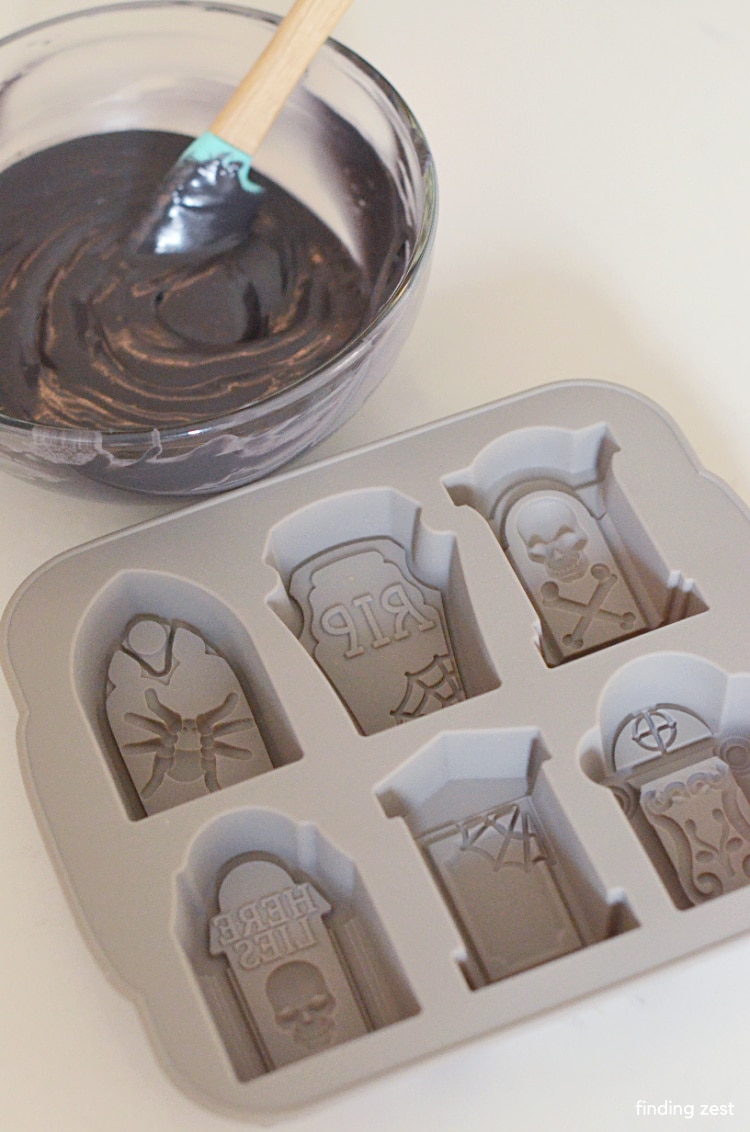
Melt approximately 1 1/2 cups black candy melts in 30 second intervals, stirring often. Do not over cook candy melts. Stir to completely combine and add a bit of canola oil or shortening for a super smooth look. Carefully spoon melted candy into in gravestone silicone mold, filling approximately 2/3 of the way to the top. Gently tap silicone mold on counter to level out the candy melts and remove air bubble. (I only tapped a couple of times because I wanted the gravestones to look older and more worn.) Place in refrigerator until fully hardened.

Carefully remove gravestones from silicone mold. It helps to gently pull each gravestone away from the edges. I wasn’t careful on one of mine and broke the headstone. However, I didn’t make another one, figuring that a broken headstone just adds to the variety. (If you are making more than 6 of the graveyard pudding cups, you’ll want to repeat this process to create more.)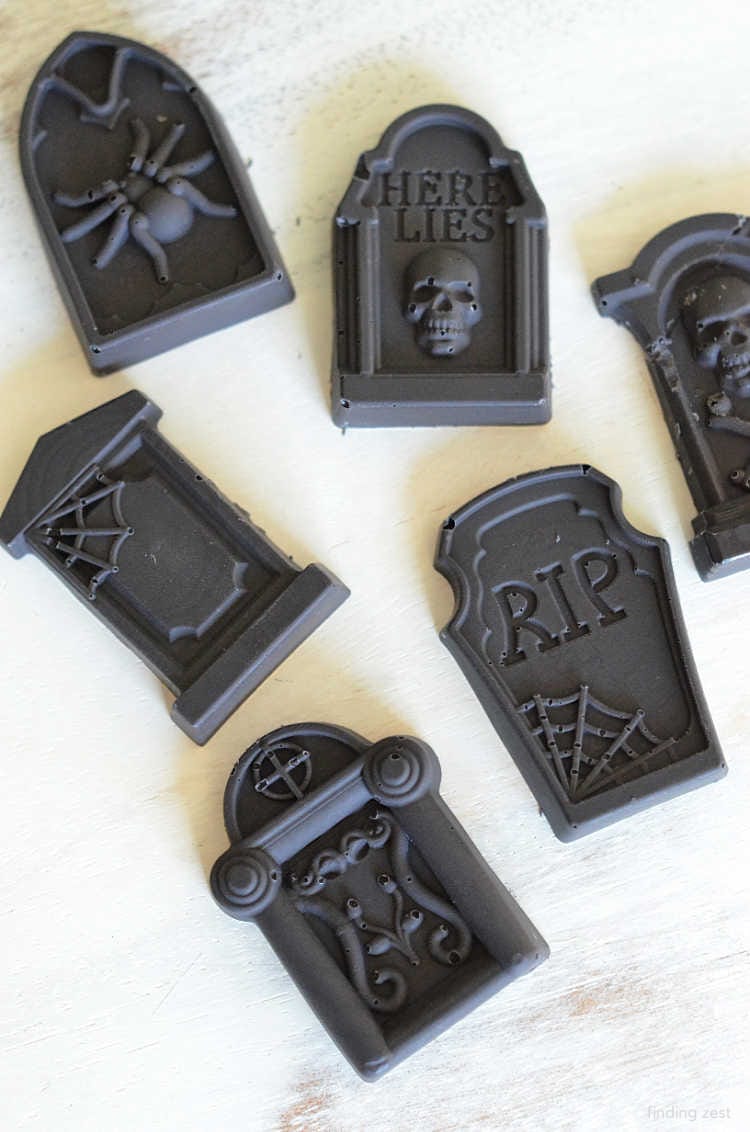
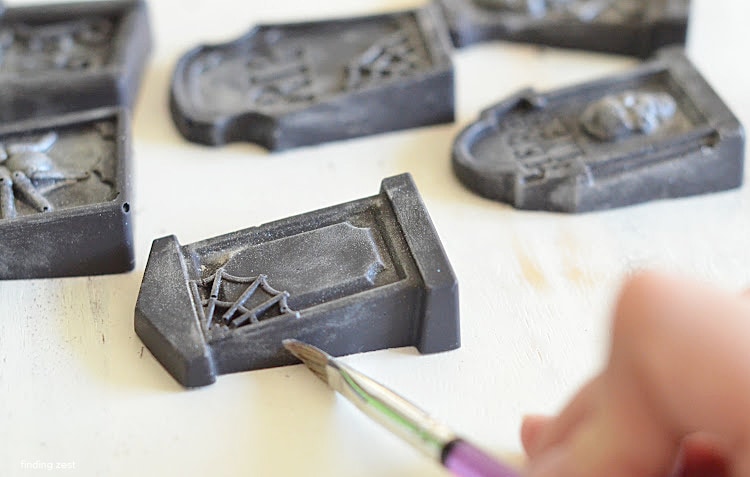
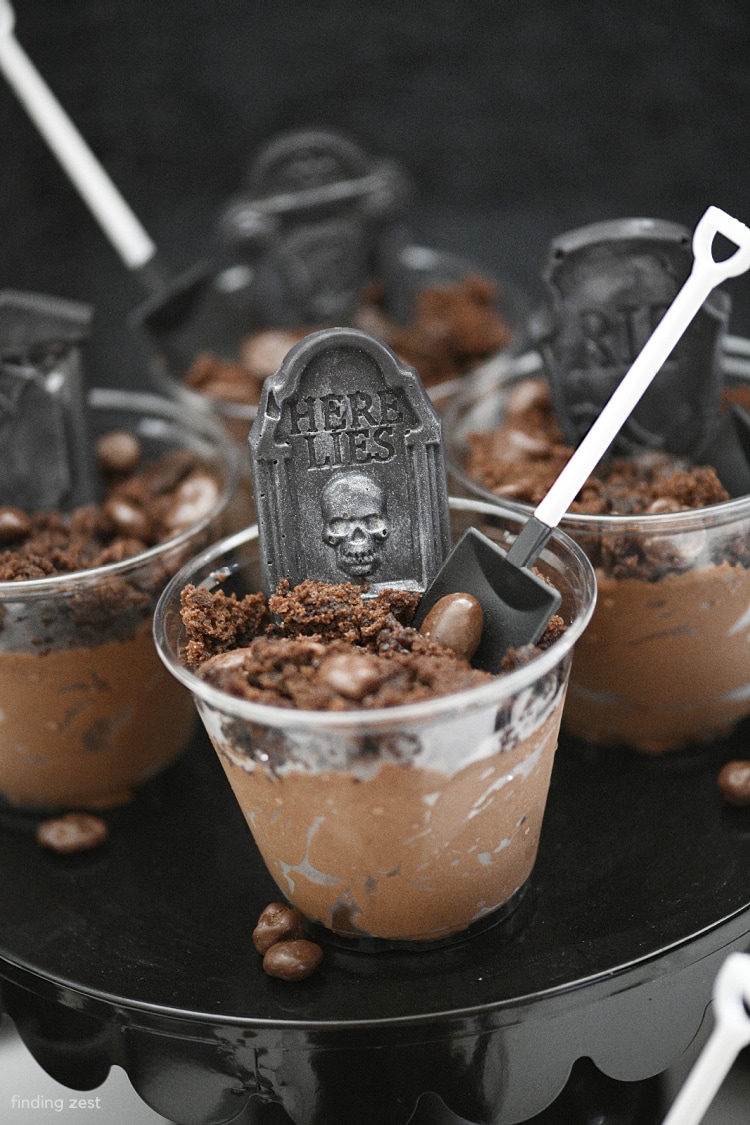
To make these tombstones look more spooky , I dusted with silver edible pearl dust. (White pearl dust would also work well.) Be sure to use food safe brushes!
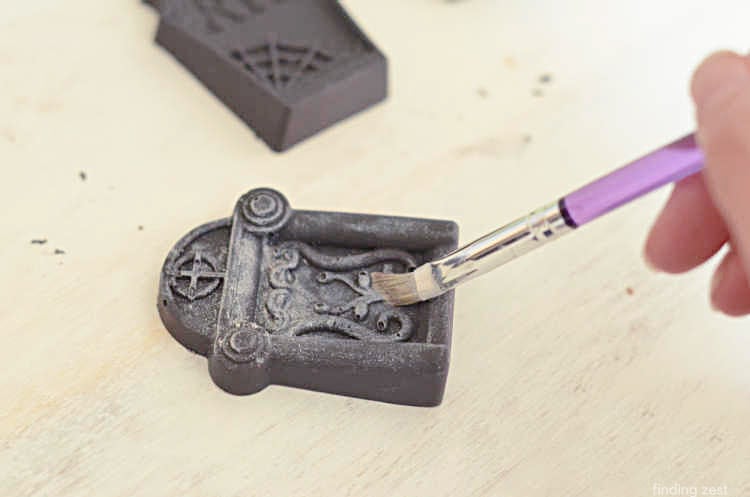
Gently brush both the tops and sizes of your your gravestones to make them look more realistic.
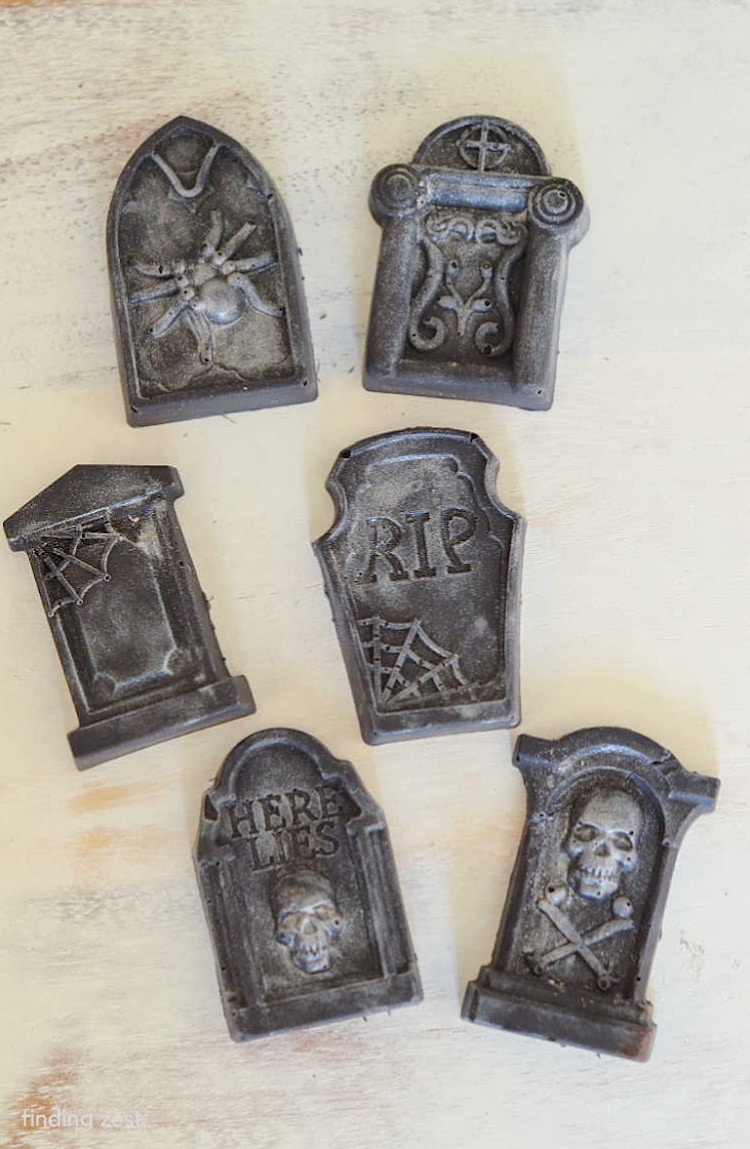
 I love how these turned out! I didn’t originally plan to add the pearl dust but I had some on hand and felt the solid black gravestones were missing something. This extra touch as so much to the overall look!
How to Assemble Graveyard Pudding
Once your edible gravestones are complete, it is time to fully assemble the graveyard cups. This can be done a day or two in advance if you prefer. Just cover them and leave them in the fridge until ready to serve.

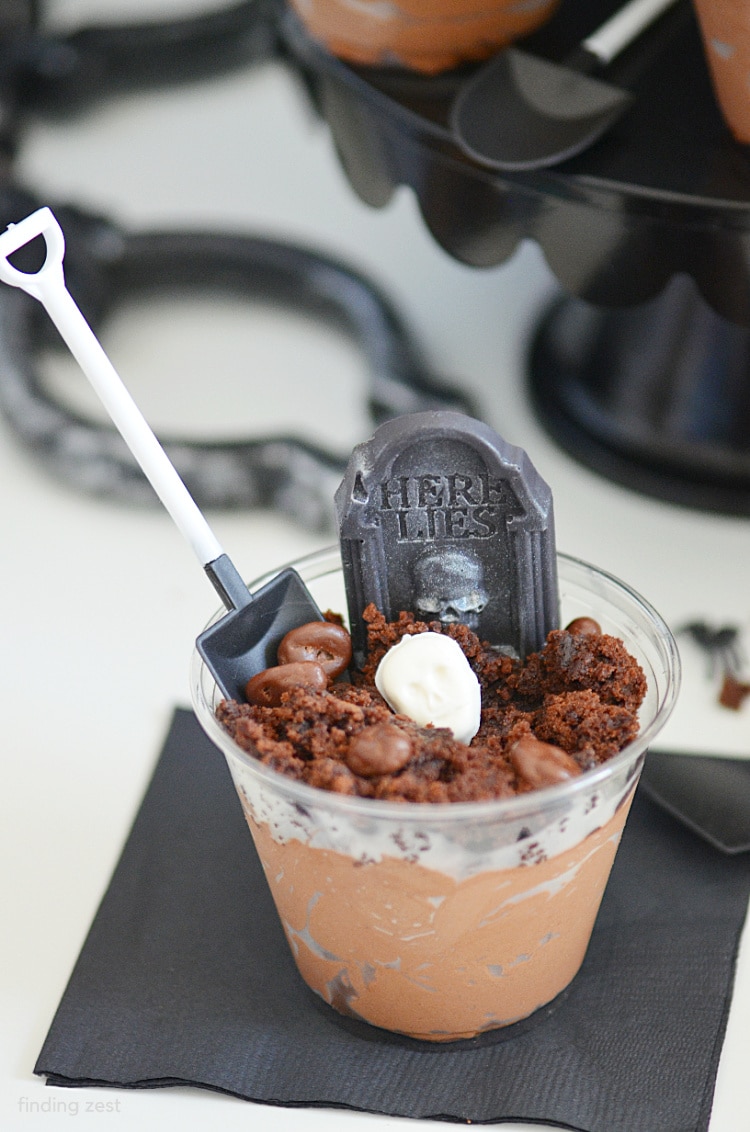
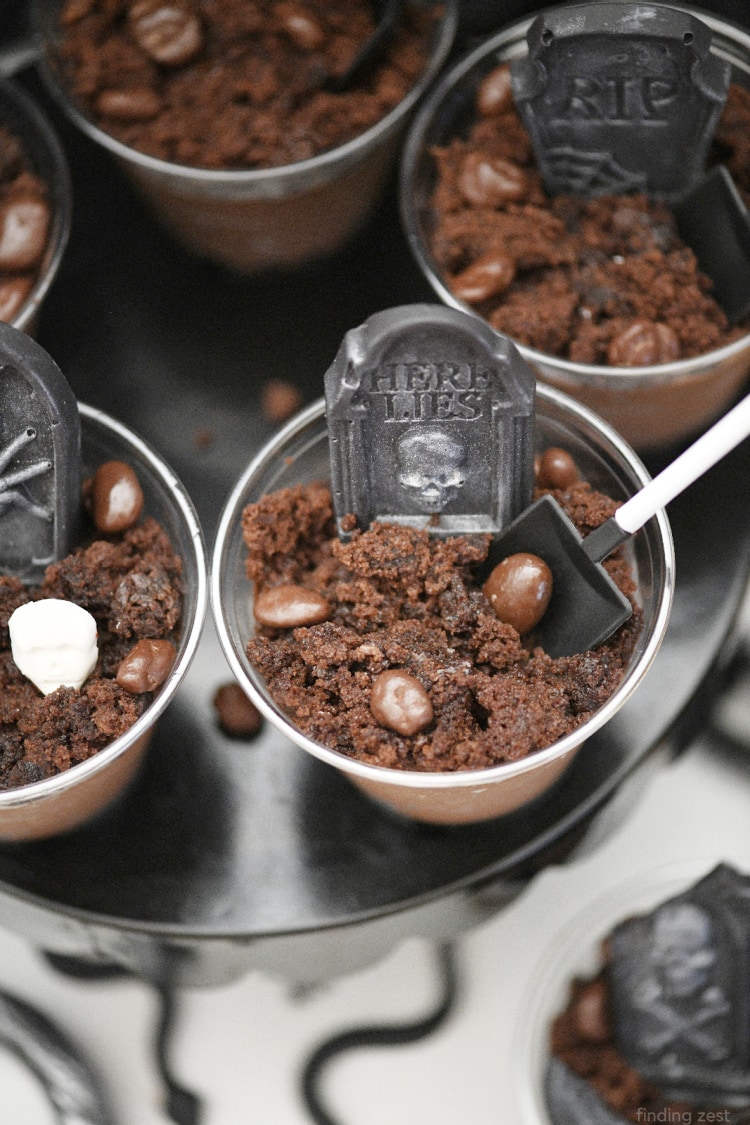
Add your favorite brownie crumbles over the top of your chocolate mousse. I just used a box mix for this but you could also do homemade brownies, store bought or even use chocolate cake instead. Next, add your gravestone and any rock shaped candies if desired. I chose chocolate covered raisins.
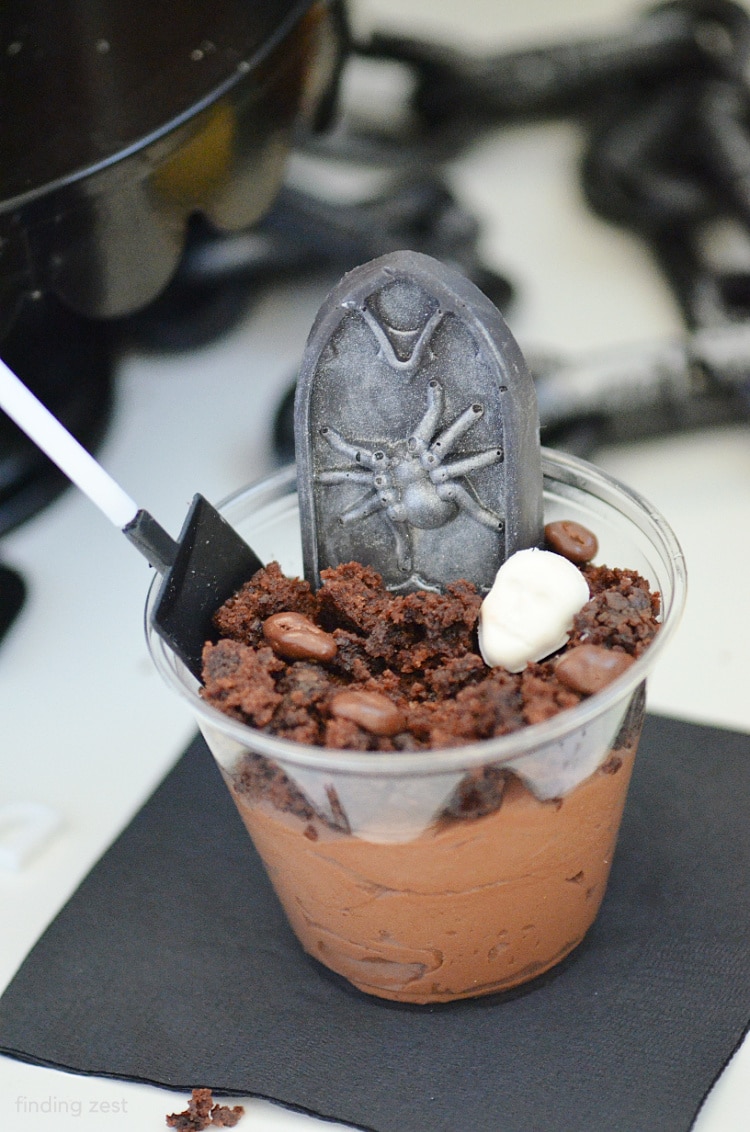
If you find it is hard to get your gravestone to stand upright, add a some extra crumbled brownie behind it to offer support. Alternatively you can push it down further into the mousse but you won’t see as much of the tombstone.
Graveyard Dessert Cups Finishing Touches
For the finishing touch, I also used shovel spoons which were also featured in my construction party dessert cups. These spoons are easy to use and really add. Keep the extras for another project since they are really quite versatile. I did make a few skulls with this Halloween mold using white candy melts,if you would like to recreate this look.

Graveyard Pudding Cups
Graveyard pudding is a spooky dessert for Halloween! These single serving Halloween pudding cups are filled with an easy chocolate mousse with whipped cream and topped with crumbled brownie and homemade chocolate gravestones!
Ingredients
- 2 boxes instant chocolate pudding 3.4 oz (4 serving size)
- 2 cups whole milk
- 2 cups heavy whipping cream
- 2 cups crumbled brownie
- 1 1/2 cups black candy melts
- 1 teaspoon canola oil optional
- 1/3 cup chocolate-covered raisins optional
- silver or white pearl dust (edible)
Instructions
-
Chill bowl and beater(s) for mixer.
-
Beat chocolate pudding, milk and heavy whipping cream until peaks form. (This will take several minutes) .
-
Spoon mixture into eight 9 oz cups, filling evenly, approximately 2/3 of the way to the top.
-
Transfer cups to the refrigerator for a 1/2 hour to set.
-
Melt black candy melts in microwave using short 15-30 second intervals, stirring often. Do not over cook chocolate. Stir to completely combine and add 1 teaspoon canola oil or shortening for a super smooth look.
-
Using a spoon, carefully drop chocolate in graveyard silicone mold, filling halfway to the top. Gently tap the mold on a hard surface evenly to remove air bubbles. Transfer to refrigerate to set.
-
Once fully set, carefully remove gravestones from silicone mold. (I recommend gently moving the tombstone from the edge of the mold, all the way around on each before trying to pop them out.)
-
Using a food safe brush, gently brush silver pearl dust on tombstone.
-
Top chilled cups with crumbled brownie and add a tombstone. Add chocolate covered raisins, and insert plastic shovel spoon (if desired)
-
Serve immediately or refrigerate until ready to serve.
Recipe Notes
These mousse cups can be prepared a day in advance and stored covered in the refrigerator until ready to serve.
Can substitute crumbled cake or chocolate cookies such as Oreo for brownie in this recipe.
My kids really went nuts over the super fluffy mousse with brownie. This mousse recipe is super easy but you wouldn’t know it by the taste. So good, trust me.
Graveyard Pudding Cups are a spooky addition to your Halloween party! I hope you love this idea as much as I do because they were so fun to make. Let me know what you think with a comment below.

